Viewing entries in
Cinema 4D

Fabulous Fabric with Object ID maps

Comment

Fabulous Fabric with Object ID maps


Poliigon has started creating fabric textures with Object ID maps. They add a more convincing look on your fabric, and they are really easy to create your self. In Arnold render you can connect these to the coat layer in standard surface and I really like the result that gives.

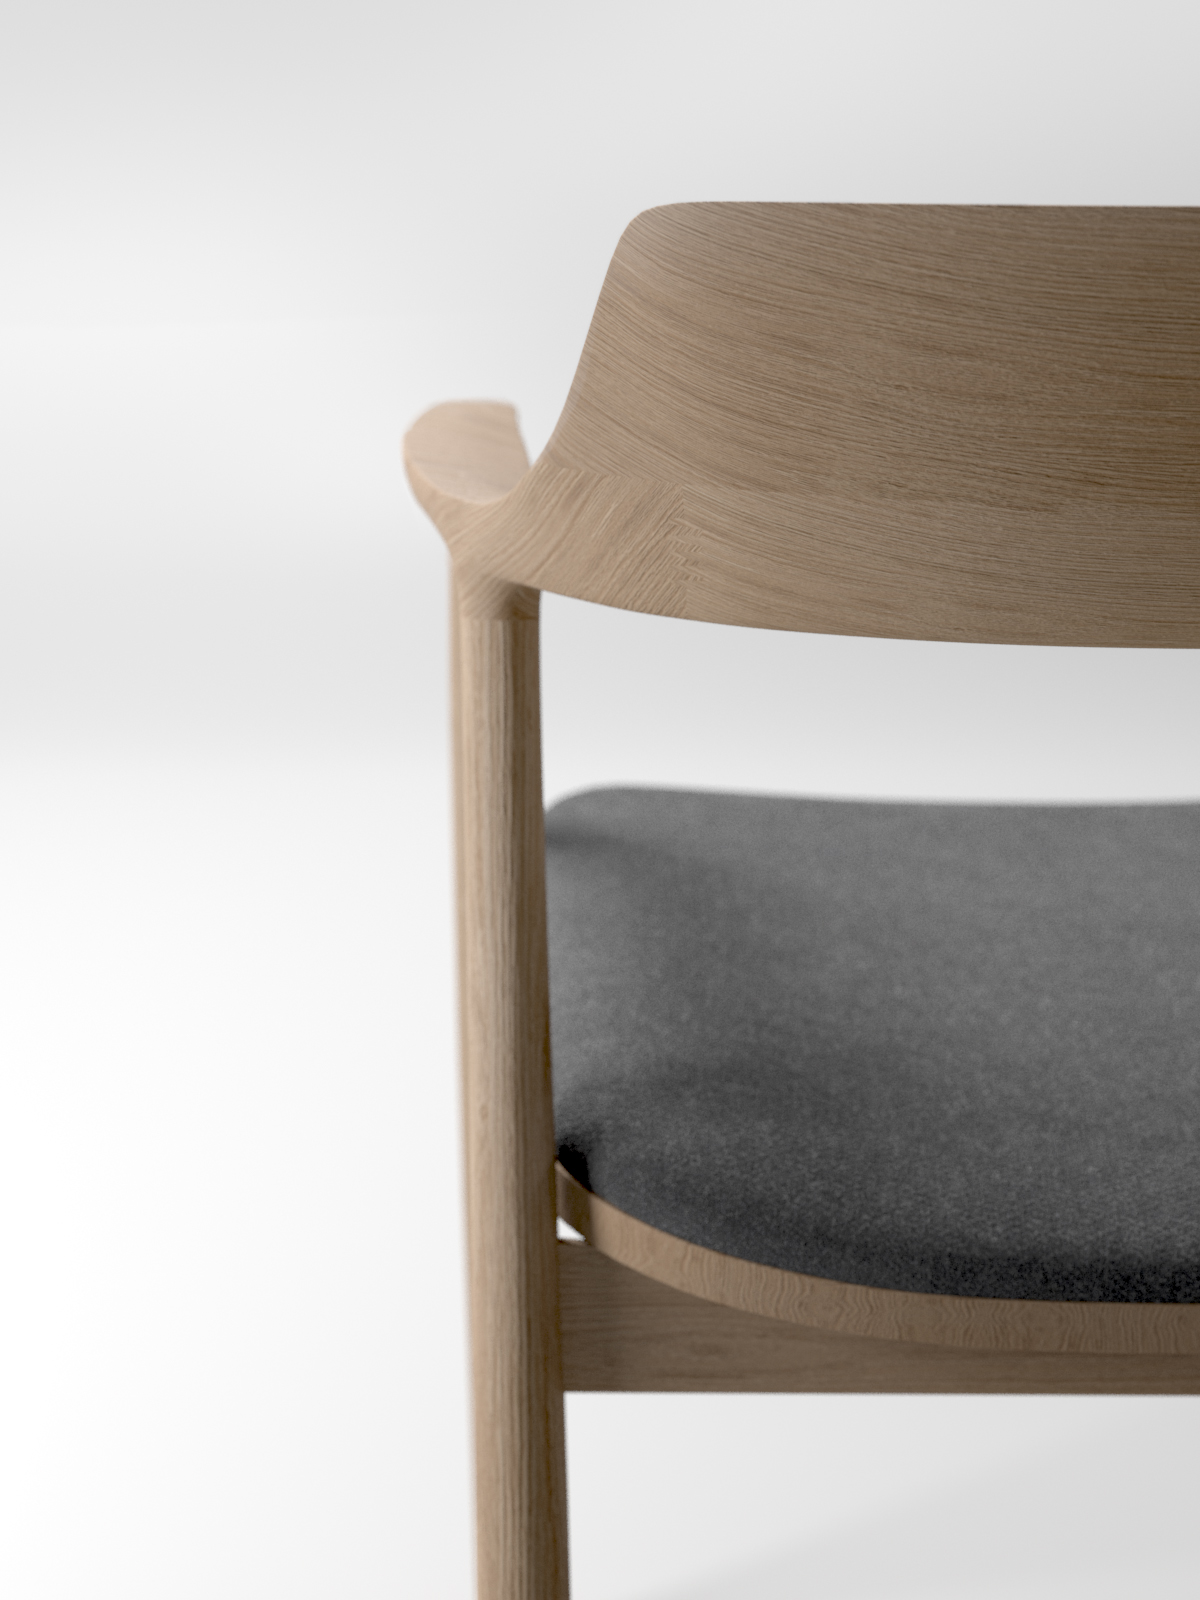
I show how I used it to create a wool material for a Hiroshima Chair by Naoto Fukasawa.

If you have a material suggestion, write it in the comments :)

Here is the free Fleece texture: https://www.poliigon.com/texture/2332
(and I have nothing to do with their site :)

Cinema 4D https://www.maxon.net/en/
Arnold Render https://www.solidangle.com/
Photoshop/Illustrator http://www.adobe.com/


Poliigon has started creating fabric textures with Object ID maps. They add a more convincing look on your fabric, and they are really easy to create your self. In Arnold render you can connect these to the coat layer in standard surface and I really like the result that gives.

Comment

Hiroshima Arm Chair

Comment

Hiroshima Arm Chair


I've just posted a fan 3d render of the Hiroshima Arm Chair.

You can see the images here or go to the page here


Comment

Alternative Shapes in Cinema 4D

Comment

Alternative Shapes in Cinema 4D


In this tutorial I show how you can create alternative forms with different deformers and object tools. I also show how you can work with Dual Graph (voronoi) procedurally.

By using some easy tricks you can create many different forms.

dual graph: http://www.entagma.com/dualgraph-a-voronoi-remeshing-plugin-for-cinema4d/

In this tutorial I show how you can create alternative forms with different deformers and object tools. I also show how you can work with Dual Graph (voronoi) procedurally. By using some easy tricks you can create many different forms. dual graph: http://www.entagma.com/dualgraph-a-voronoi-remeshing-plugin-for-cinema4d/


Comment

Speed uv-mapping in Cinema 4D

Comment

Speed uv-mapping in Cinema 4D


In this tutorial I show my main workflow for UV-mapping or UV-unwrapping. This is for you who need to fix a ready made model with out or bad UVs.

To show the versatility of the technique I unwrap two different models, one box shaped model and one curve shaped model.

But the real speed trick is to set up your startup layout ready for unwrapping.

Since these are two models form the internet I don't really know how they are made. I have to fix bad normals, remove triangles, get weird flipped polygons, do some simple model fixing with pentool, untriangulate the mesh and then do the UV-mapping. I also get messages that says the model has bad polygons and more.

For the UV-mapping I often us the box algorithm. If that doesn't work I use frontal projection. For curved models it's best to cut the models in different parts by selecting the edge. I then use frontal and then I unwrap/relax the UV.


Comment

Arnold Render Utility Shader as an illustrative tool

Comment

Arnold Render Utility Shader as an illustrative tool


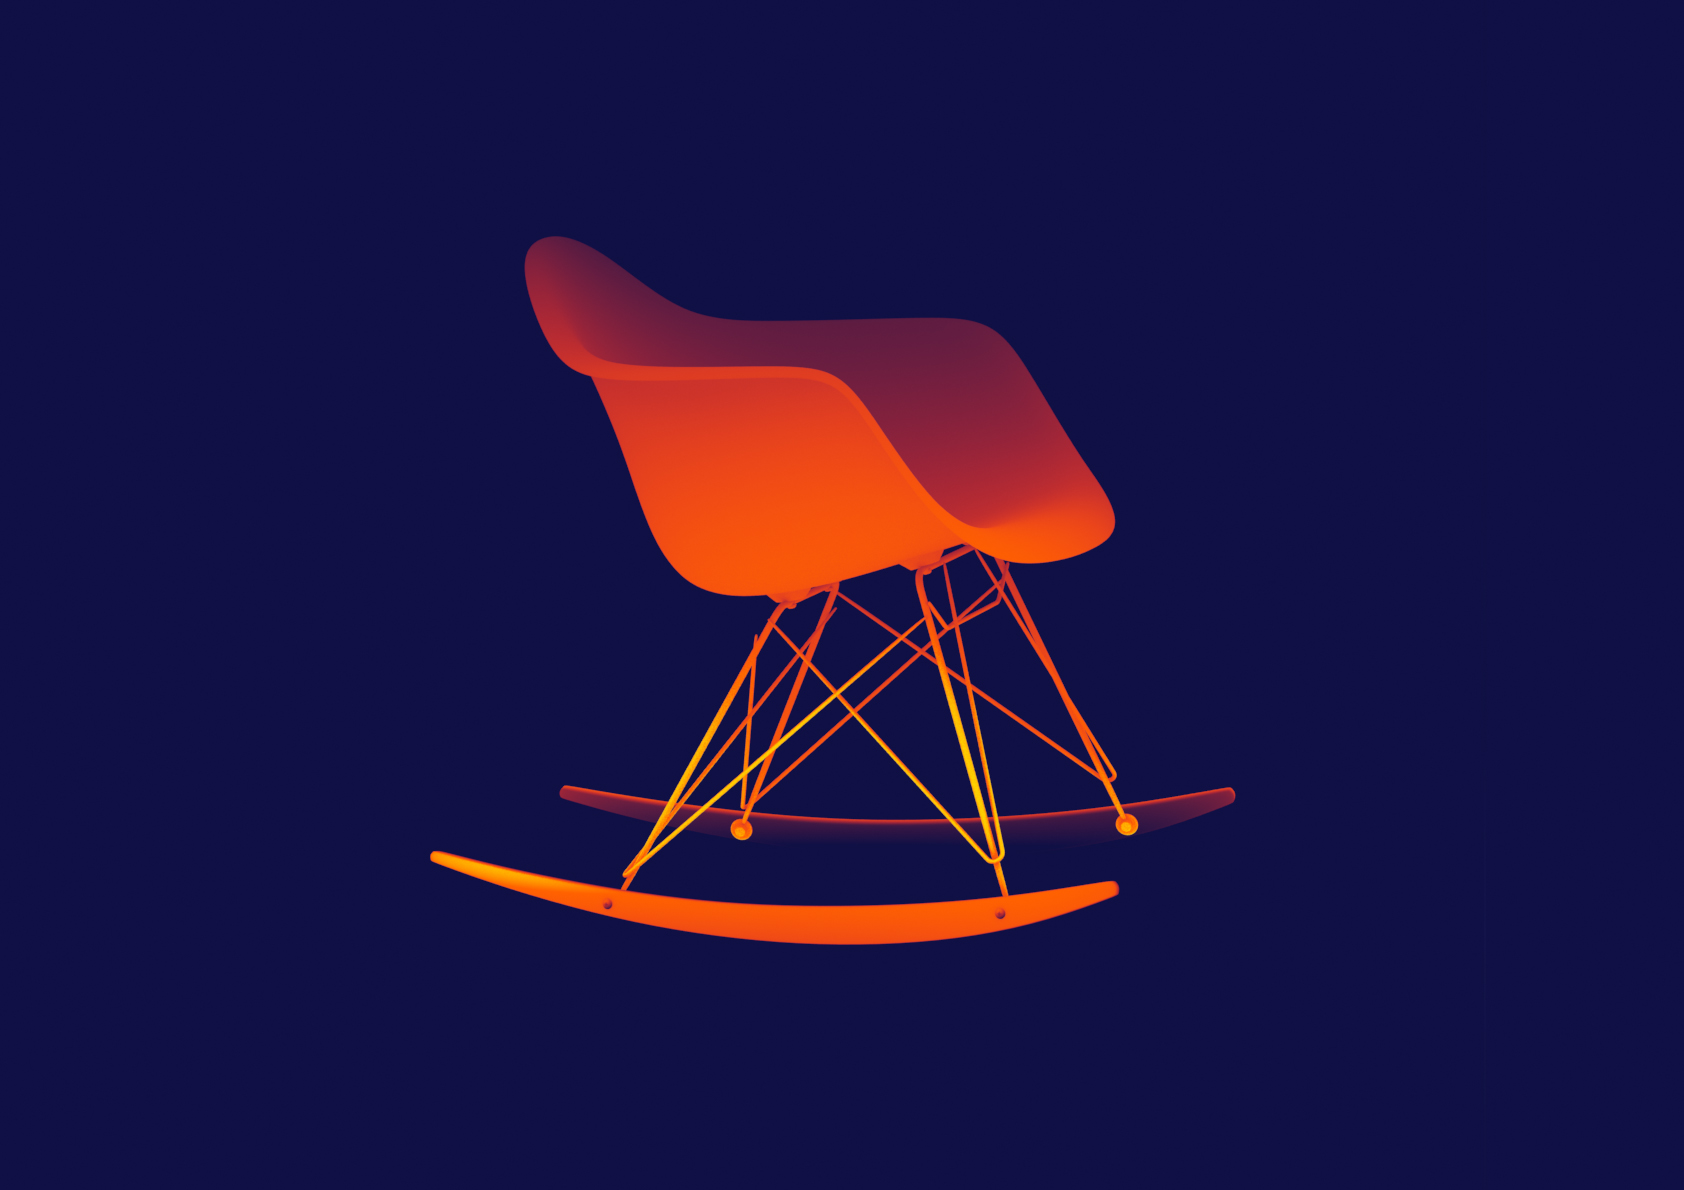
In this tutorial I show the utility shader in Arnold Render. It gives opportunity to create looks that aren't possible with the native render engine in Cinema 4d. Hope this gives you new inspiration to explore new looks and styles.

If you have a material suggestion, write it in the comments :)

Cinema 4D https://www.maxon.net/en/
Arnold Render https://www.solidangle.com/
Anders Langlands http://www.anderslanglands.com/alshad...

In this tutorial I show the utility shader in Arnold Render. It gives opportunity to create looks that aren't possible with the native render engine in Cinema 4d. Hope this gives you new inspiration to explore new looks and styles.


Comment

Leather Material Tutorial

Comment

Leather Material Tutorial


As the title says, in this leather material tutorial I show my main method of creating materials. In photoshop I make the material base based on a picture. Sometimes from the web or a picture I've taken. It's made square and seamless for ease of use.

After a couple of larger updates by Arnold Renderer some parts of the tutorial is now old and not up to date. Anders Langlands addon to Arnold is deprecated and not possible to use anymore. But many of the principles is still possible to use, and that’s why I do not remove this tutorial form Youtube. Thank you for your understanding :)

As the title says, in this leather material tutorial I show my main method of creating materials. In Photoshop I make the material base often from an image. Sometimes I find this image on the web or a I take my own picture. It's made into a square and then made seamless for ease of use in 3D. Then processed it in Bitmap2Material or Materialize (only on windows) to create different texture maps. Then mixed together in Arnold Render.

Cinema 4D
Arnold Render
Anders Langlands
Bitmap2Material
Materialize
Photoshop


Comment

Arnold + X-Particles part02

Comment

Arnold + X-Particles part02


In this second part I show you how you can change color on collision. This technique can be used in many different ways where you need to go from one particle group to the other.


Comment

Arnold + X-Particles part01

Comment

Arnold + X-Particles part01


In this is a quick tutorial I show how you can make simple trails (and short arrows) that also change color over life by using Arnold Render and X-Particles in Cinema 4D.

This is my second tutorial so sorry for the stuttering :)

The shift button hung up after a brake, sorry for that!


Comment